Try it out
Once you have finished installing console2svg, let’s try it right away.
Capture a still image
Section titled “Capture a still image”Simple example
Section titled “Simple example”-
Run any command with
console2svg capture -- (any-command).Terminal console2svg capture -- console2svg -
That’s it. By default, the result is generated as
output.svg. -
Open the generated
output.svgin a browser. You should see output like the following.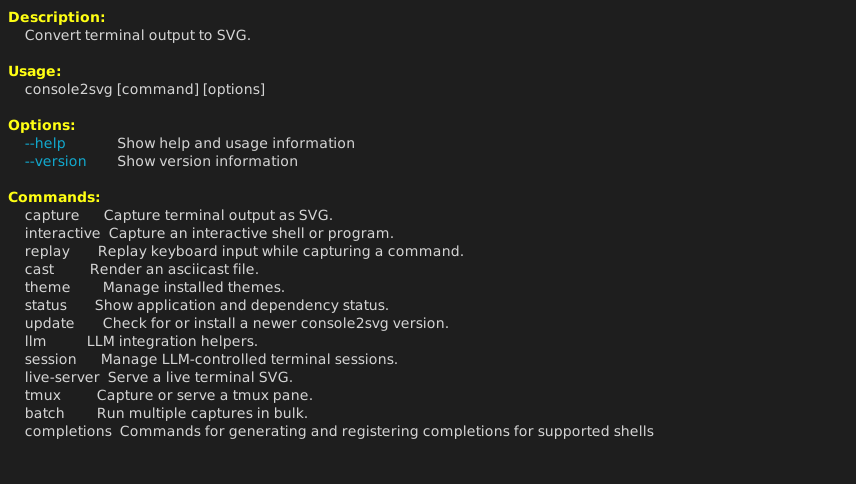
Specify options
Section titled “Specify options”capture accepts several (many) option arguments.
For example, let’s display oh-my-logo under the following conditions.
-o console2svg.svg: Change the output destination toconsole2svg.svg.-w 100: Fix the window width (automatic by default).-c: Add a display of the executed command, such as$ oh-my-logo ..., at the beginning of the output.-d macos-pc: Make it look like a macOS window and add surrounding spacing.- If only
-dis specified, it is treated asmacos(no surrounding spacing).
- If only
--background "#ff7e5f" "#feb47b": Use a sunset-style gradient background.
console2svg capture -o console2svg.svg -w 100 -h 10 -c -d macos-pc \ --background "#ff7e5f" "#feb47b" \ -- oh-my-logo "console2svg" sunset --filled --letter-spacing 0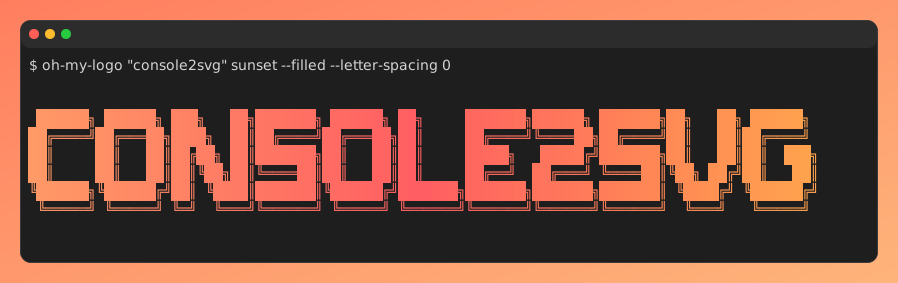
For details, see Capture still images.
Capture a video
Section titled “Capture a video”Simple example
Section titled “Simple example”-
Pass
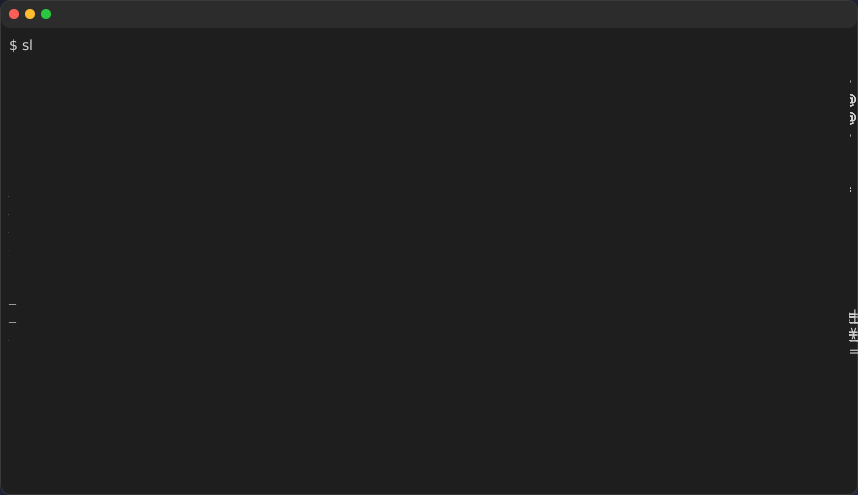
-vto thecapturecommand and run any command.Terminal console2svg capture -c -d -v -- sl -
That’s all. The generated result looks like this.
Specify options
Section titled “Specify options”For example, let’s display nyancat under the following conditions.
-w 160 -h 32: Set width to 160 and height to 32.-c: Add a display of the executed command, such as$ nyancat, at the beginning of the output.-d: Make it look like a macOS window (no surrounding spacing). Equivalent to-d macos.-v: Enable video output.--timeout 5: Automatically stop after 5 seconds.--sleep 0.5: Wait 0.5 seconds before looping from the final frame.
console2svg capture -w 160 -h 32 -c -d -v \ --timeout 5 --sleep 0.5 -- nyancat -d 10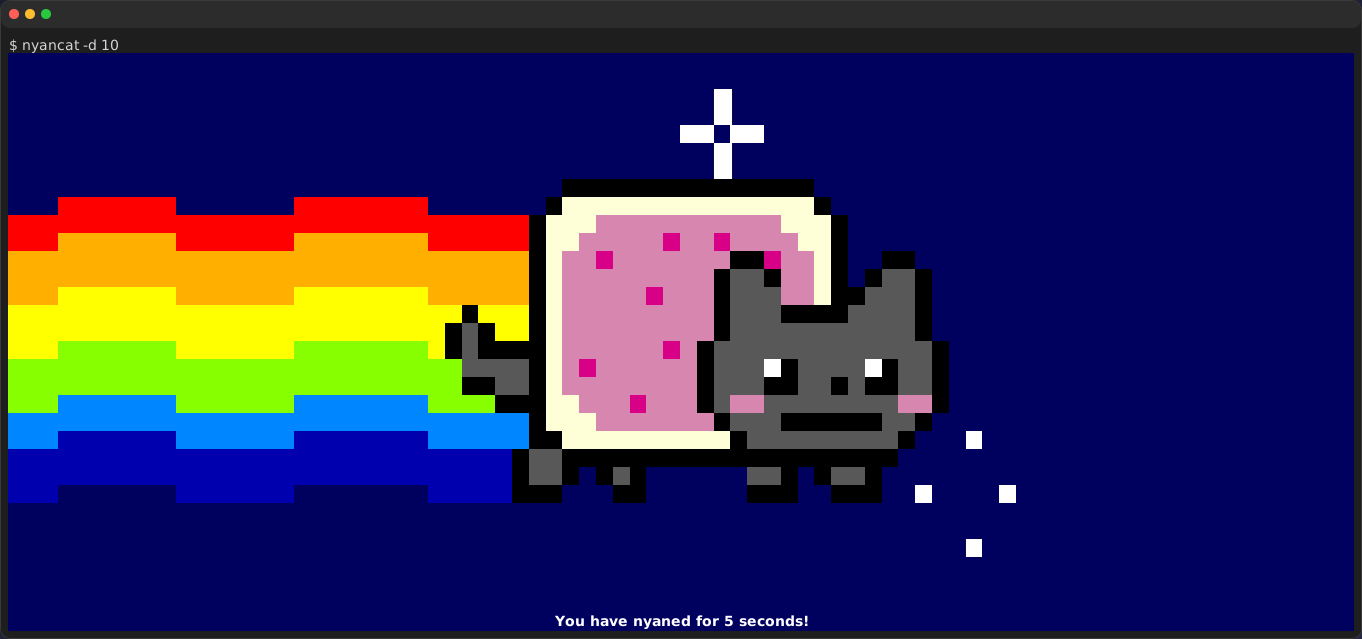
For details, see Capture videos.
Where to go next
Section titled “Where to go next”Explore the capture command reference, learn about capturing still images, or try capturing videos. You can also set up shell completion or capture a running pane with the tmux integration.